Travel Photography Tips for Low Light: The Best Guide
The Secret behind Night Photography Magic
The first thing to do is to learn the problem. Night takes away the sun. Cameras need light to see. So, photos look dark. Next, think about the beauty.
Cities glow at night. Stars shine bright. Thus, magic comes with low light. In addition, this guide will make you learn. We list the best tips. You will master the dark. So, read every part. Besides, you do not require professional equipment. Simple cameras work too.
You just need knowledge. Thus, you can start now. Lastly, perfect photos are made by practice. Go out tonight. Try these new tricks. So, capture the best shots.
Learn About the Light Sight of Your Camera
The first one is to have knowledge of your camera sensor. The sensor catches light. It acts like an eye. So, treat it well. Next, light enters the lens. Then, it hits the sensor. The camera makes the image. Thus, more light helps. In addition, black scenes disorient sensors.
They try to find light. Sometimes they fail. So, you must help it. Moreover, manual mode is important. Auto mode makes mistakes. You must take control. Thus, learn the settings. Finally, do not fear the dark. It offers mood. It creates drama. So, embrace the shadows.
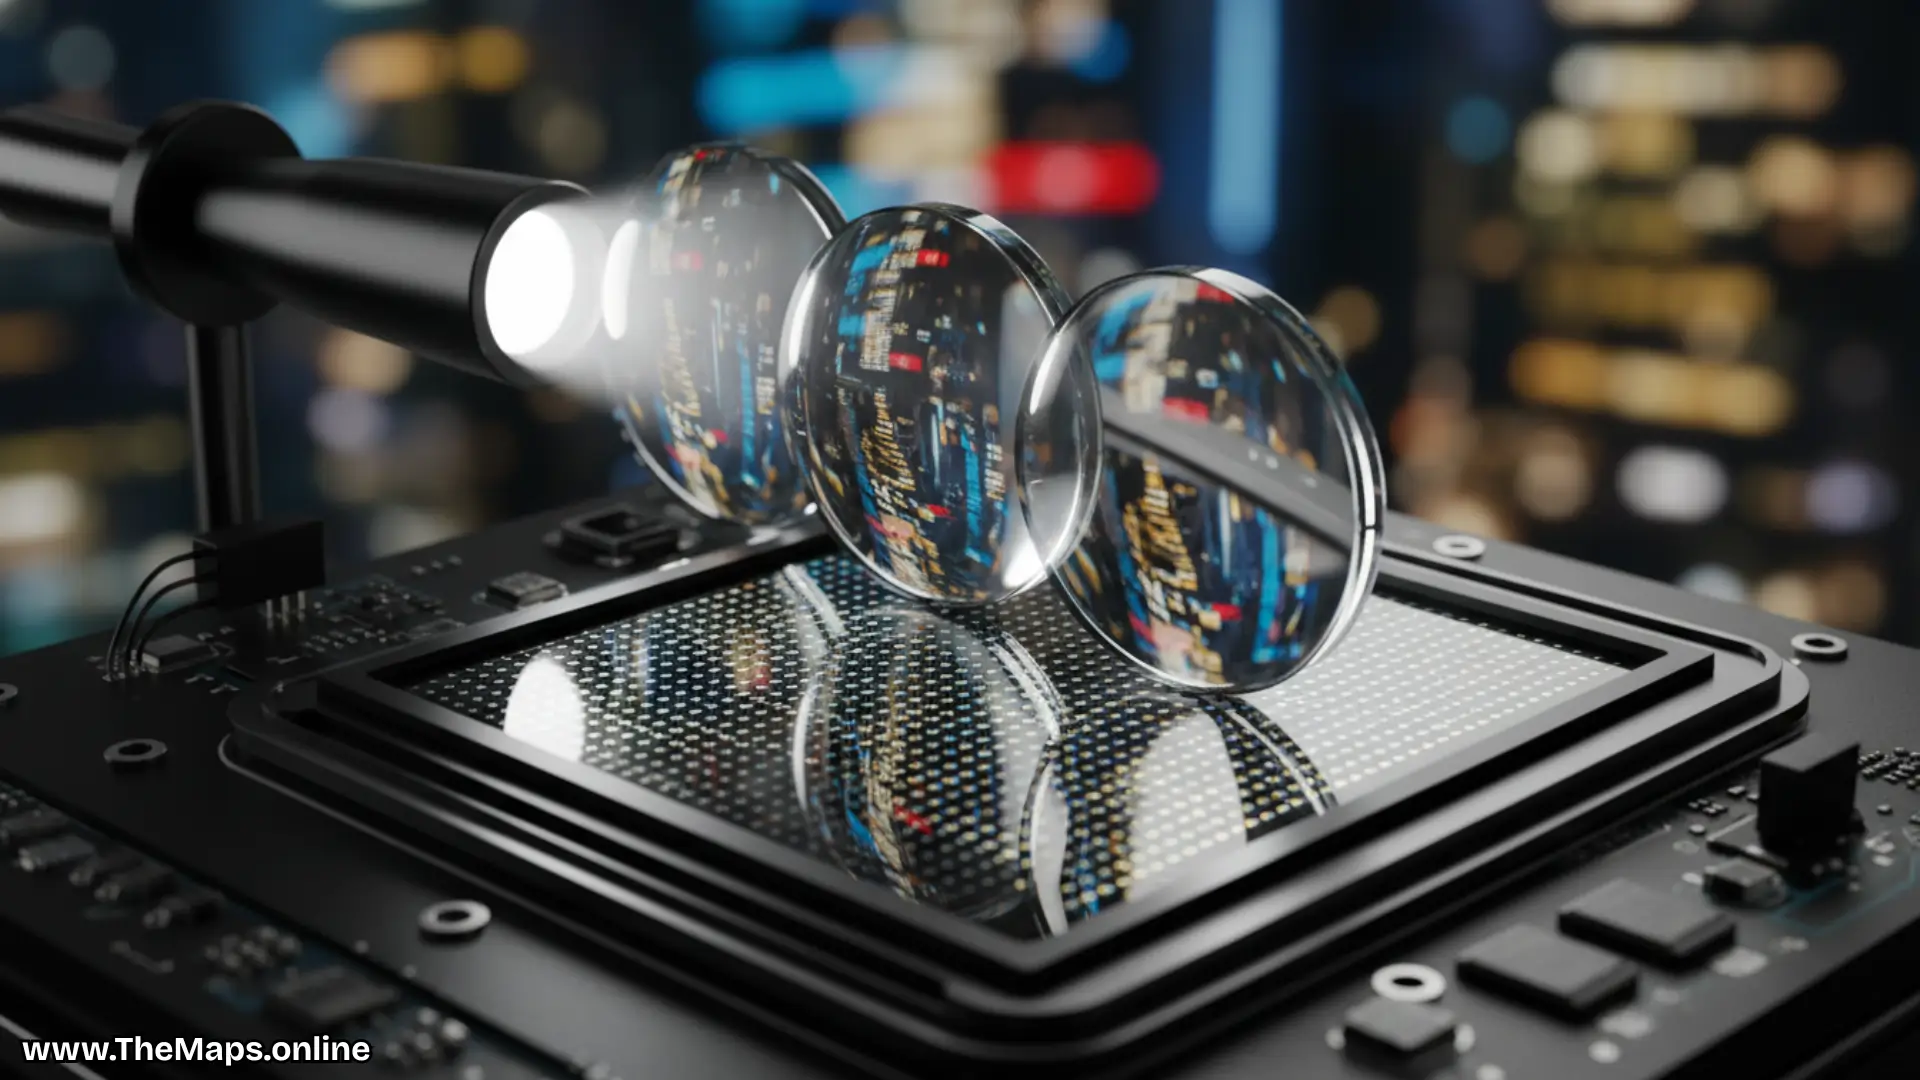
Select the appropriate Lens when it is dark
The first one is to check the aperture number. Small numbers are good. Look for f/1.8 or f/2.8. These are fast lenses. Next, a wide hole lets in light. Think of a big window. More light comes in. So, your photo looks bright. Also, kit lenses have limits. They have small holes.
They struggle at night. Thus, buy a prime lens. Besides, prime lenses do not become blurry. They do not zoom. But, they gather light well. So, use your feet to zoom. Finally, clean your glass. Dust ruins night shots. Lights make dust glow. Thus, wipe it clean.
Also Read: Travel Safety Tips for Crowded Destinations You Must Know
Conquer The Mastery of High ISO Without Fear
First, find the ISO button. ISO brightens the image. It boosts the signal. So, turn it up. Next, watch for digital noise. High ISO adds grain. Grain looks like sand. It ruins smooth skies. In addition, contemporary cameras are powerful. They handle high ISO well. You can go higher.
Thus, test your limits. More so, grain is superior to blur. A blurry shot fails. A grainy shot works. So, choose the grain. Finally, fix grain later. Computers reduce noise. Software smooths the image. Thus, shoot bright now.
Shutter Speed Control to Sharp Photographs
First, shutter speed is time. It counts the seconds. Long times let in light. So, photos get brighter. Next, slow speeds cause blur. Your hands shake. The camera moves. Thus, the image looks soft. In addition, people should use a high speed. People move around.
You must freeze them. So, pick a fast time. In addition, cities should be used at slow speed. Buildings do not move. You can leave it open. Thus, you get details. Finally, check your results. Look at the screen. Zoom in close. So, ensure it looks sharp.
Maximum Stability to use a Tripod
First, buy a solid tripod. Night shots need time. Your hands shake too much. So, use a support. Next, set it on hard ground. Grass moves a lot. Concrete stays still. Thus, your camera stays safe. Another thing is that a tripod will allow you to slow down. You can use low ISO. You can use slow shutter. So, quality goes up.
Furthermore, use the timer. The shake is provided by clicking the button. The timer waits. Thus, the shake stops. Finally, weigh it down. Wind blows light tripods. Hang your bag on it. So, it stands like a rock.
Also Read: How to Plan a Slow Travel Itinerary on Any Budget
How to use a Steadicam in Place of a Tripod
First, look for a wall. Lean against it. Your body becomes steady. So, shake goes away. Next, put the camera on a table. Or, use a railing. Any flat spot works.
Thus, you improvise well. Also, hold your breath. Breathing moves your hands. Exhale and shoot. So, you stay still. In addition, hold the elbows close. Push them against the ribs. You make a triangle. Thus, you get support. Finally, use the strap. Pull it tight. Tension creates balance. So, the camera stays put.
Raw Shooting to make improved edits
First, change your file type. Go to the menu. Pick RAW format. JPEG throws away data. Then all the details are stored in RAW. It saves the shadows. It saves the highlights. So, you have power. Also, files look flat at first. Do not worry. This is normal. Thus, you must edit them.
Moreover, the white balance is adaptable. You can change it later. RAW lets you fix colors. So, mistakes do not matter. Finally, buy big memory cards. RAW files are huge. They fill cards fast. Thus, bring extras.
Learn how to focus with the hand
To begin with, the autofocus cannot work in darkness. The lens hunts. It cannot find lines. So, switch to manual. Next, use live view. Look at the screen. Zoom in on a light. Thus, you see clearly. Also, turn the ring. Make the light small. Make it sharp. So, you find focus.
Moreover, use focus peaking. Some cameras have it. It highlights sharp edges. Thus, it helps you see. Finally, do not touch it. Once set, leave it. Tape the ring if needed. So, it stays perfect.
Also Read: How to Find Cheap Flights Without Flexible Dates Easily
Between the Magic of Blue Hour
First, know the time. Blue hour is short. It happens after sunset. So, be ready early. Next, the sky turns deep blue. City lights turn on. The mix looks amazing. Thus, it is the best time. Also, the light is soft. Shadows are not black. You see details everywhere. So, exposure is easy.
Furthermore, colors pop out. Orange lights contrast blue. It looks very pleasing. Thus, photos look pro. Finally, work fast. The blue fades fast. You have twenty minutes. So, shoot many frames.
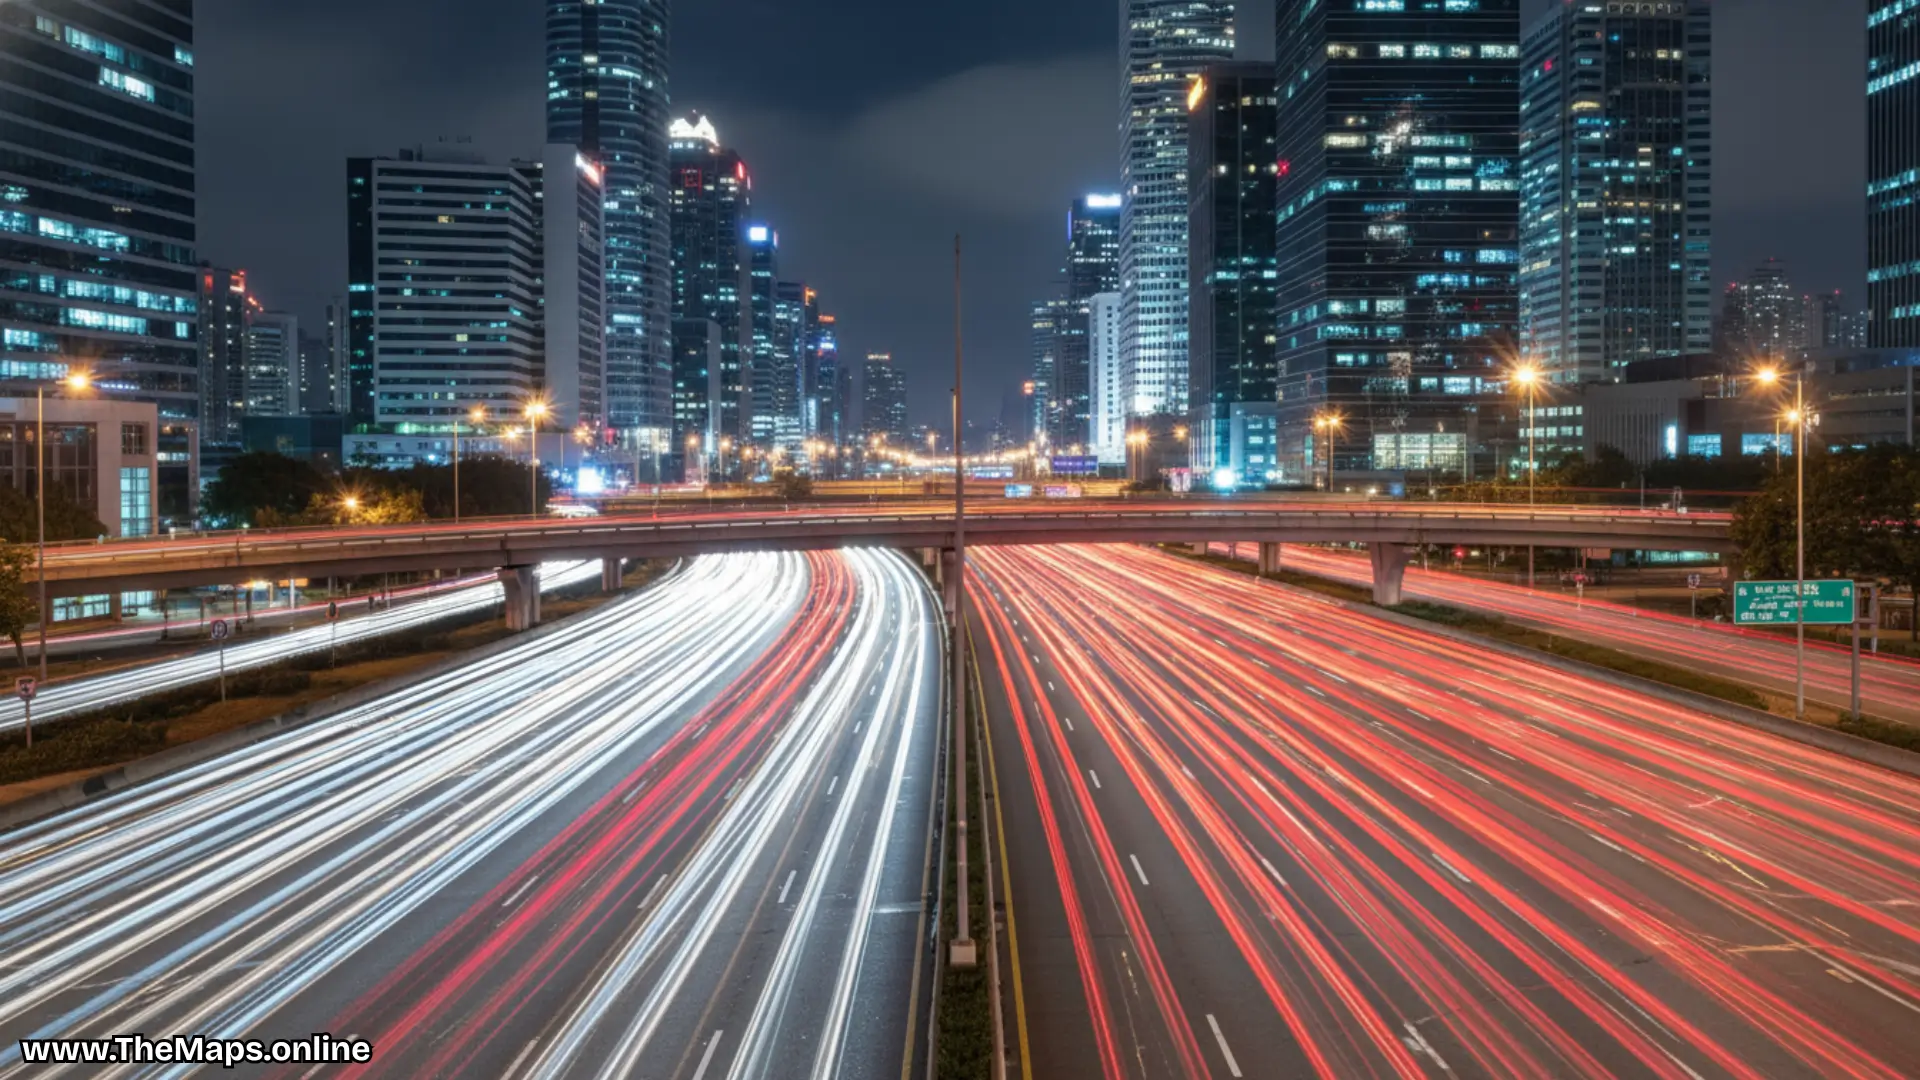
Creative Effects with City Lights
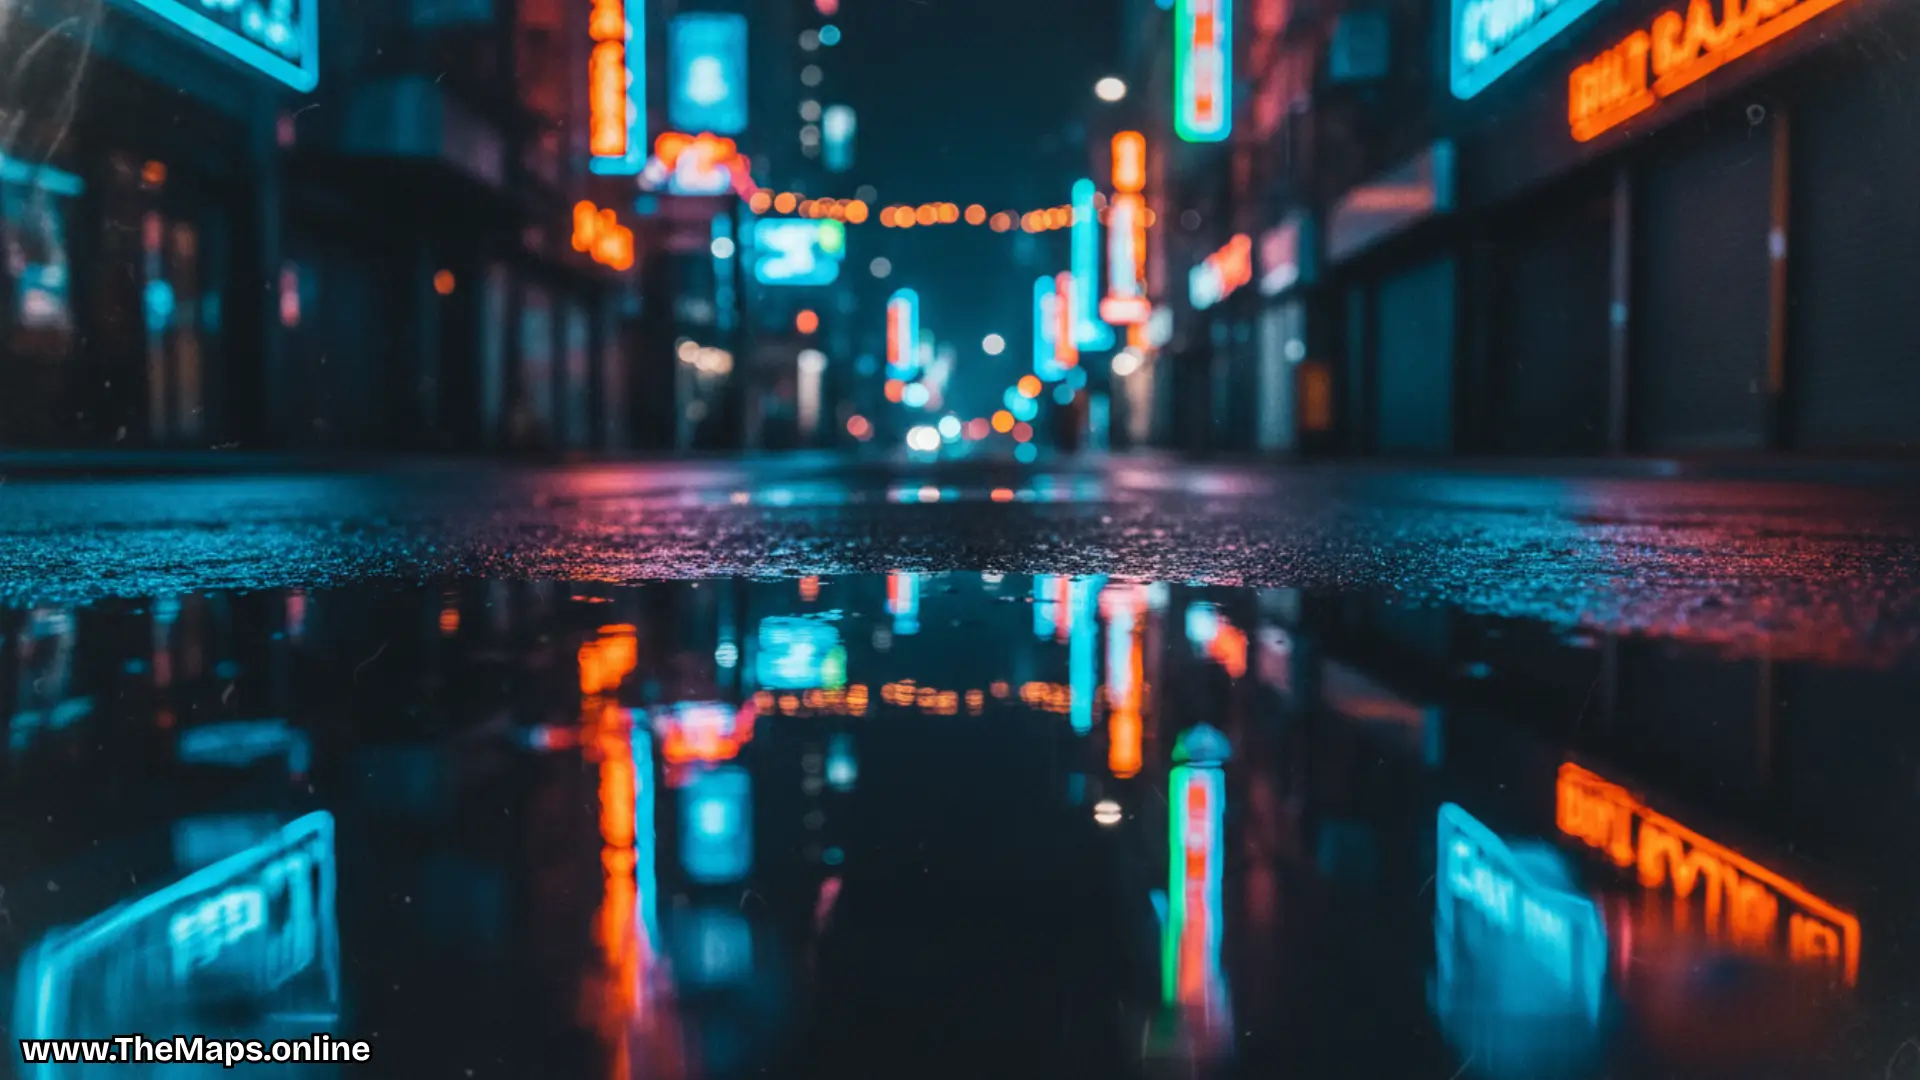
First, look for car lights. Cars make light trails. Use a slow shutter. So, lights paint lines. Next, find neon signs. Signs add color. They act as light sources. Thus, faces look cool. Also, use street lamps. Stand under them. Put your subject there.
So, they get spotlight. In addition, also seek reflections. Rain makes streets shine. Lights double in puddles. Thus, depth increases. Finally, avoid direct flare. The lights striking the lens are not good. Use a hood. So, block stray rays.
Compose Your Shots with Care
First, look for leading lines. Roads guide the eye. Fences guide the eye. So, use them well. Next, use the rule of thirds. Put the subject off center. It looks more dynamic. Thus, balance improves. Also, frame the subject. Use dark arches. Use tree branches.
So, focus stays on the subject. In addition to this, seek negative space. Dark sky is empty. It highlights the moon. Thus, simplicity wins. Finally, check the edges. Be aware of glare distractions. Crop them out. So, the eye stays focused.
Also Read: Cheapest Months to Travel to Japan for Big Savings
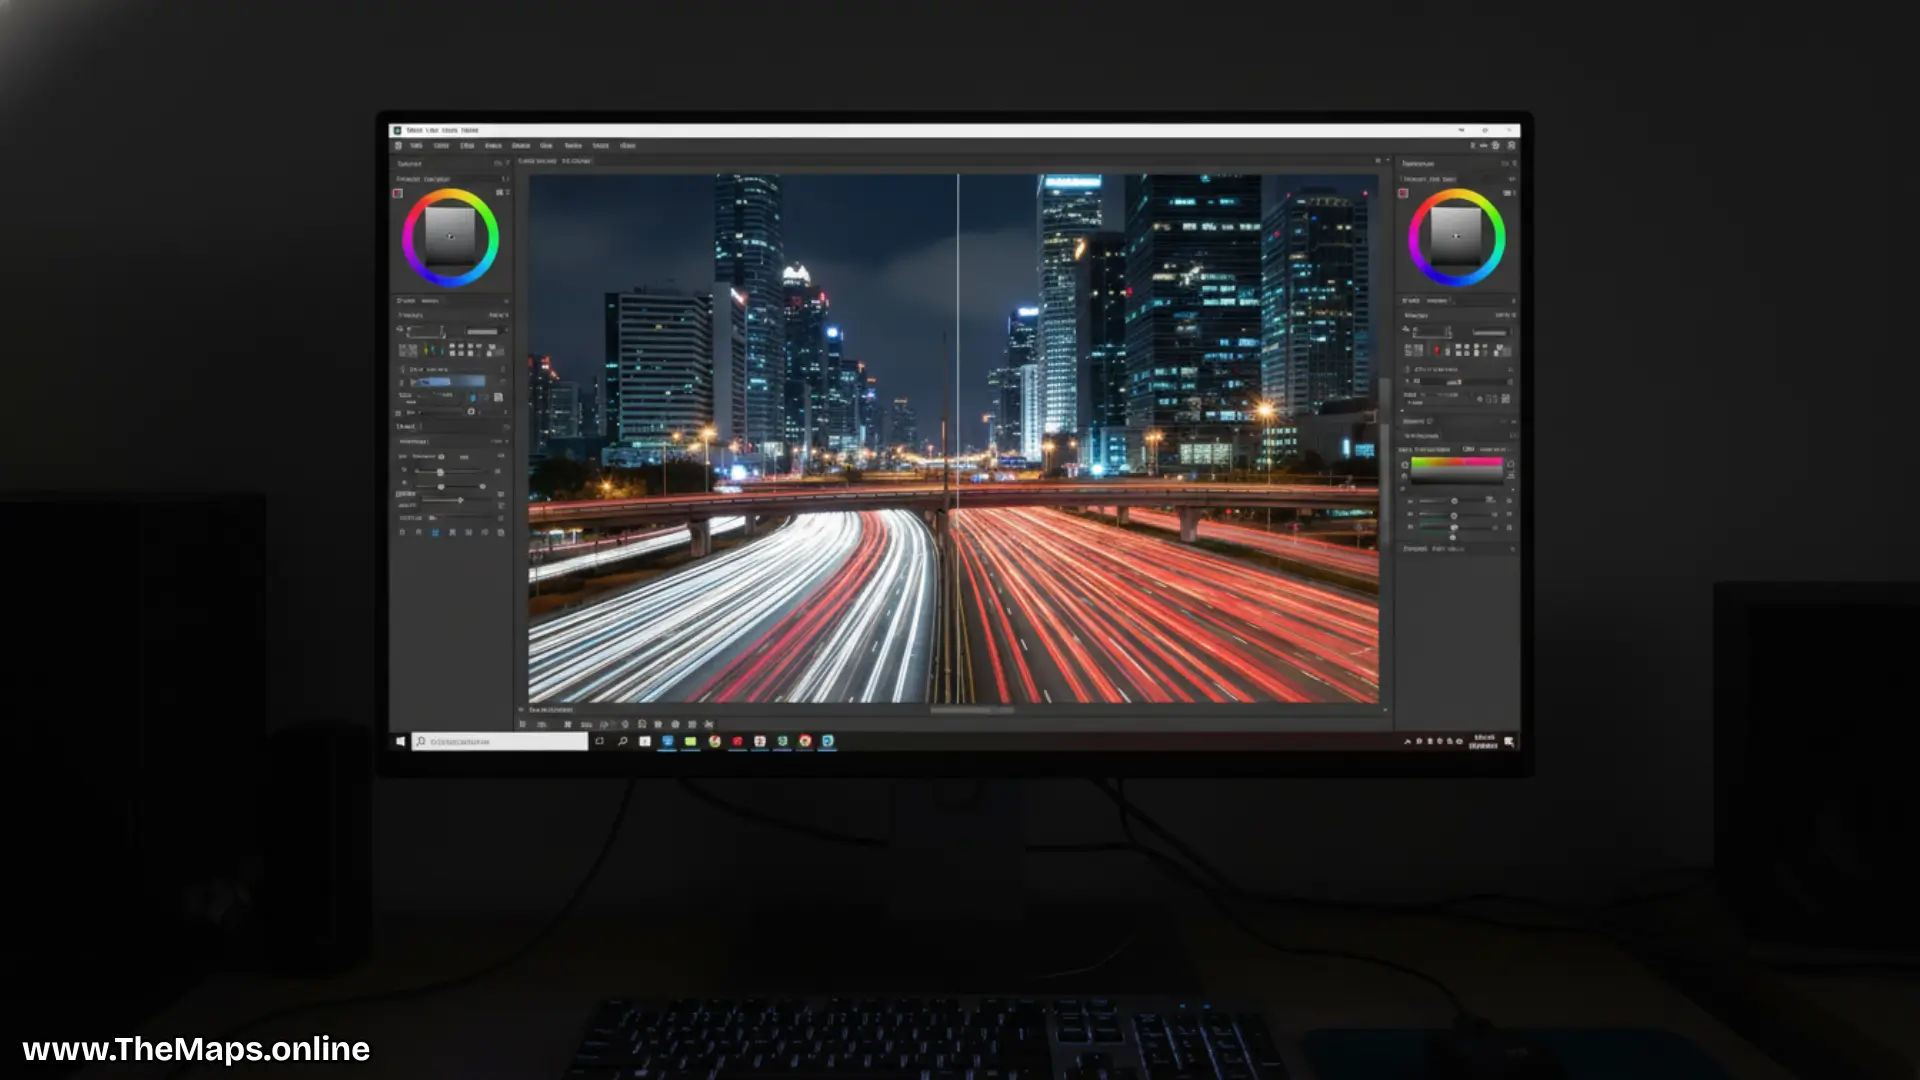
Edit Your Low Light Photos
First, open your software. Import the RAW files. You see the potential. So, start the work. Next, lift the shadows. Reveal the hidden parts. But, do not go too far. Thus, it looks natural. Also, reduce the noise. Use the slider. Smooth out the grain. So, the sky looks clean.
In addition, adjust the white balance. Street lights look orange. Cool them down. Thus, colors look true. Finally, add some contrast. Make blacks look black. Make lights look bright. So, the photo pops.
Travel Smarter with Your Camera Gear
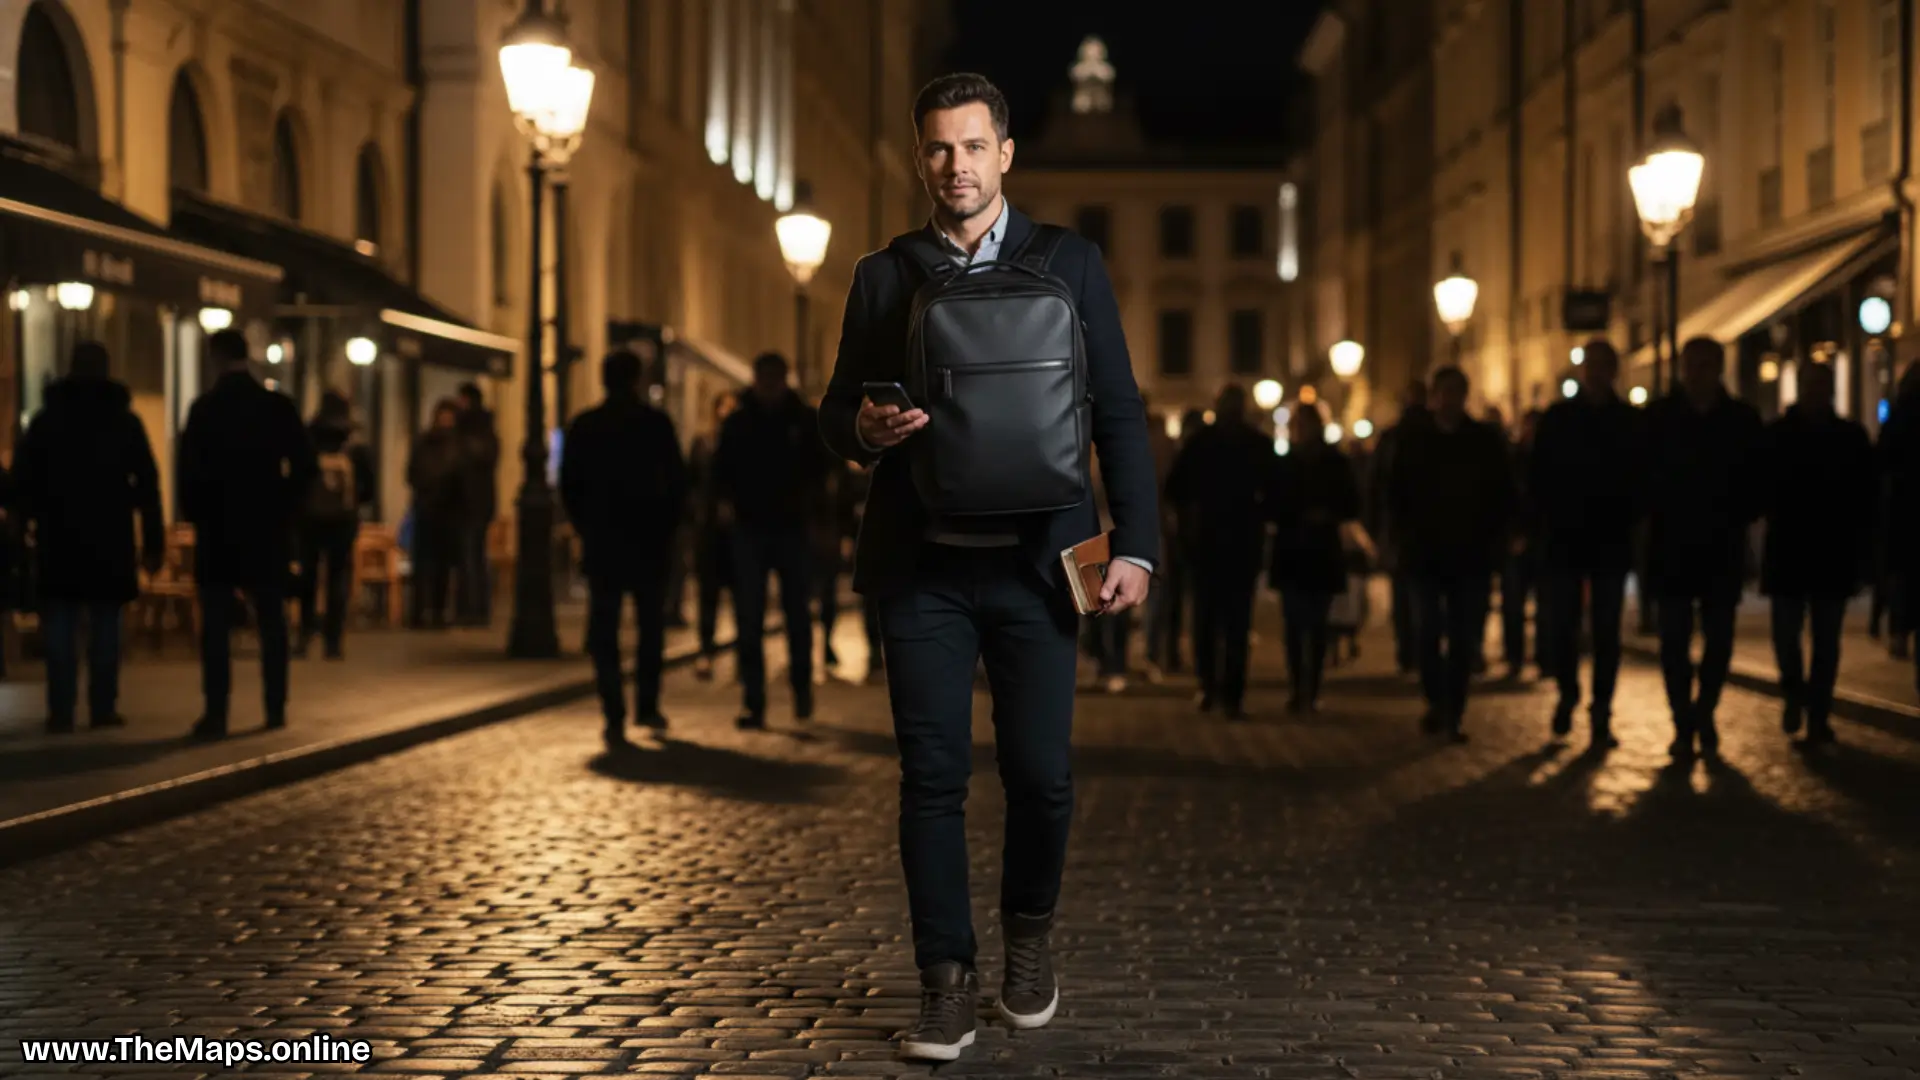
First, hide your camera. Keep it in the bag. Only take it out to shoot. So, thieves do not see. Next, stay in safe areas. Avoid dark alleys. Stay near people. Thus, you have witnesses. Also, bring a friend. Two people are stronger. You watch each other. So, safety doubles.
Moreover, insure your gear. Accidents happen. Theft happens. Thus, you get money back. Finally, trust your gut. If it feels wrong, leave. No photo is worth risk. So, go home safe.
Training Perfect Timing is the greatest shot
To begin with, night photography is slow. Exposures take time. Setup takes time. So, do not rush. Next, wait for the moment. Wait for a car. Wait for a person. Thus, the scene comes alive. Also, do not forget to check your settings. Light changes fast.
You must adapt. So, keep checking. Furthermore, take many shots. Experiment with angles. Experiment with time. Thus, you learn more. Finally, enjoy the process. The night is peaceful. The city is quiet. So, have fun.
Also Read: Best Affordable Family Travel Packages to Europe
Low Light Settings Cheat Sheet
| Setting | Action | Result |
|---|---|---|
| Aperture | Open wide (f/1.8 – f/2.8) | More light enters |
| ISO | Increase (1600 – 3200) | Sensor sees better |
| Shutter | Slow down (1/60 or slower) | Brighter image |
| Format | RAW | Better editing |
| Focus | Manual | Sharp subject |
Destruction: Night World Conclusion
First, you have the tools. You know the secrets. The dark is not scary. So, go explore. Next, mistakes will happen. Photos will be blurry. This is okay. Thus, you learn from them. Also, share your work. Show your friends. They will be amazed. So, be proud. Moreover, keep practicing. Every night is different. Every city is new. Thus, the fun never ends. Finally, take the best shot. The night waits for you. Your camera is ready. So, create magic.
Also Read: Top Budget-Friendly Travel Destinations in Asia 2025
All questions should be answered by Frequently Asked Questions (FAQ).
What is the cause of the night photos being blurred?
To start with, there is a slow shutter speed. Your hands shake the camera. The sensor records the shake. So, the image blurs. Next, the subject might move. People cannot stay still. Thus, they look like ghosts. Also, the focus might miss. The camera cannot see well. So, it guesses wrong. As such, use a tripod or a faster speed.
Do I indicate that I need a tripod to take night photos?
First, it depends on the goal. For cityscapes, yes. You need long exposures. A tripod holds it still. So, buildings look sharp. However, for street shots, no. You can hold it by hand. Just use a wide aperture. Also, use high ISO. Thus, you can walk and shoot. Nevertheless, a tripod has the best quality.
Which ISO is the most suitable in night photography?
To begin with, it does not have a single number. Start with ISO 1600. Check the screen. If it is dark, go higher. Try ISO 3200. So, find the balance. However, do not go too high. ISO 6400 adds much grain. It ruins the details. Thus, stay as low as possible. Nevertheless, high ISO is superior to blur.
What happens when it is dark and pitch black?
First, find a light source. Look for a street lamp. Or, look for the moon. Aim your camera there. So, lock the focus. Next, switch to manual focus. Do not touch the ring. Recompose your shot. Thus, the focus stays set. Also, bring a flashlight. Shine it on the subject. So, the camera can see.
Is it possible to use my smartphone in the dark?
First, yes you can. Modern phones are great. They have night modes. These modes take many shots. Then, they combine them. So, the photo looks bright. Next, hold it very steady. Use a small tripod. Or, lean on a wall. The phone, therefore, captures light. Also, tap the screen to focus.